With their gentle glow and captivating scents, candles can transform any space into a tranquil haven. If you're a candle enthusiast looking for a rewarding and eco-friendly hobby, making soy candles is a perfect choice. In this comprehensive guide, we'll explore the benefits of soy wax, provide safety advice, and guide you through the process of how to make soy wax candles at home.
What is soy wax?
Soy wax candles, a vegetable-based wax derived from soybean oil, has gained immense popularity in candle-making due to its eco-friendly nature. Unlike traditional waxes such as paraffin, soy wax is a renewable resource that supports sustainable farming practices. The cultivation of soybeans reduces reliance on fossil fuels, making soy wax a greener alternative. Reports also claim that it's kinder to the environment because it can be grown quicker than it can be harvested, so it's a more sustainable alternative.
Soy wax also offers several advantages over other waxes. Firstly, it burns cleaner and emits less soot, promoting healthier indoor air quality. All candles produce some level of soot, but it doesn't mean they're not safe to use or burn at home. As the wax travels up the candle wick, the flame uses it as a fuel source to continue burning. The melted wax layer on the surface of the candle is what gives off the aroma of the fragrance. However, the amount of soot that can be released changes depending on the wax itself and soy has been reported to emit a lower amount. To gauge how much soot a candle may release can be loosely measured through the naked eye as well as official lab testing. If a candle produces black smoke when burning or the container has a black dusting around the edges or rim after use determines it has a higher soot level. This is different to if you turn the candle when lighting and a small area features a black mark, as this is just due to the ignition.
Additionally, soy wax has a lower melting point, which allows for longer burning times and a more even distribution of fragrance. The lower melting point means it will burn slower, cooler and for longer compared to other alternatives. Reports suggest soy burns 50% slower than paraffin, so candles should last longer and due to the low melting point, gradually reduce over a longer period of time.
Furthermore, soy wax is biodegradable and easy to clean, making it an environmentally responsible choice. When you've finished with your delicious candle, allow it to cool slightly and then wipe away the remaining wax at the bottom of the container with a cloth or kitchen towel. You should never pour wax down drains as the fragrance in them are severely toxic to aquatic life.
What is the best soy wax to make candles with?
There are various types of soy wax to use. Container candles are for any candles that are in jars, tins or other glass. It's designed to adhere to the container and cannot be used for pillar candles (which are free-standing). Pillar soy wax is needed for any candles that are not in a container, as it's designed to stand on its own. When you have decided which one you want to make, you can try out different waxes. Soy wax 464 is a common and popular choice as it's easy to work with, smells great and has a lower melting point. But there are lots of various kinds, with eco-blends and natural wax!

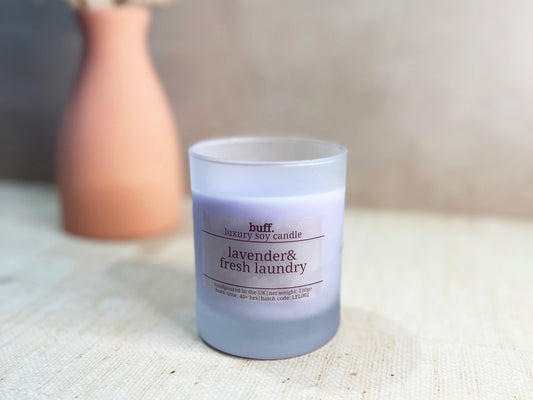
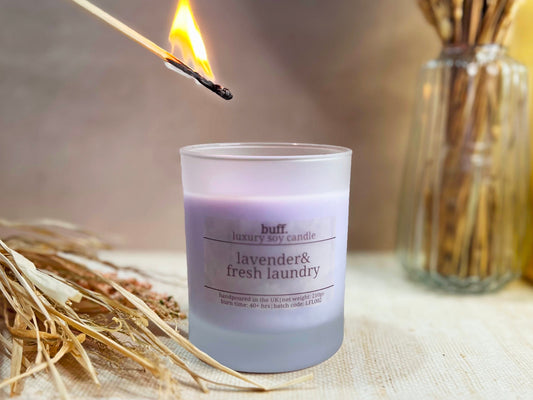
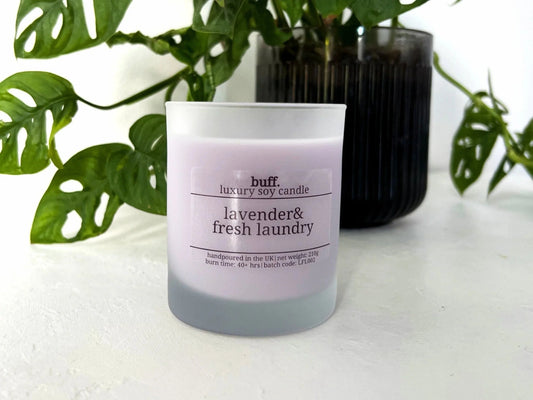
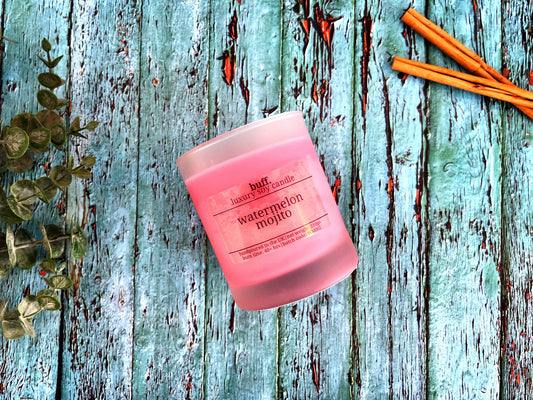
Shop our range of relaxing soy wax candles with our lavender and fresh laundry scent to keep you calm.
How to make soy wax candles at home?
Before diving into the candle-making process, it's essential to gather the necessary equipment and utensils. You'll need soy wax - these either come in the form of flakes or beads - a double boiler, a thermometer, candle wicks, containers, fragrance oils or candle dyes (optional), a heat-resistant spoon like a silicone spatula, and a heat gun or hairdryer for smoothing the candle's surface. Although, this isn't essential.
Only ever use specified candle containers from reputable suppliers. These containers will have undergone testing to ensure they are safe to use for waxes as well as candle wicks that hold a flame. Do not attempt to use cheaper or non-official candle containers, because they may crack under the heat.
Safety precautions should never be overlooked. Always work in a well-ventilated area, away from flammable objects. Wear protective gloves and goggles to shield yourself from hot wax. Never leave melting wax unattended, and ensure you have items nearby should the worse happen such as a fire - a water supply, or even if you have at hand, a fire extinguisher.
Instructions:
Step One: Melting
Prepare where you are working either by covering it with newspaper or a heat-resistant mat. Dried wax is easier to remove and can be scratched off once dry. Or if you act quickly enough, any small amounts of spilt wax can be wiped up with a paper towel.
Measure the desired amount of soy wax flakes you need for how many candles you're making and melt them in a double boiler over low heat until fully melted. Try to avoid using a microwave as it doesn't heat evenly, but it is an option if you don't have anything else. Professional candle makers will have large melters and pots designed for larger batches but this isn't necessary if you're making them yourself. Use a thermometer to monitor the temperature, ensuring it remains between the levels advised for your specific wax only. This can be typically between 170-180°F (76-82°C). Always follow the guidance from the wax provider.
While the wax is melting, prepare your candle containers by securing the wicks to the centre using a drop of melted wax as an adhesive. Another option is to use a wick sticker to attach them to the bottom of the container.
Step Two: Mixing
Once the wax reaches the desired temperature, remove it from the heat source and let it cool slightly for a few minutes. If you want to colour your wax, you can add dye wax chips or liquid dye to the mixture. Dye chips pack a punch so only add a small amount at a time and mix well when the wax is still hot. If the wax is too cool, the dye won't melt in thoroughly. To test how bright or saturated the colour will be, grab a paper towel and allow a few drops of wax to fall onto it, this will be an indicator of the wax colour when cured.
Step Three: Pouring
Carefully pour the melted wax into the prepared containers, ensuring the wicks remain centred. You can use two pencils on either side of the wick, placed over the top of the container, to keep the cotton centred. Or you can use wick centring tools which are inexpensive from suppliers online. Allow the candles to cool and solidify for several hours. They will cool gradually and the colour of the wax will become saturated and lighter. Avoid removing the wicks too soon, instead opt for 24-48 hours later, as the wax will still be soft.
Once cool, trim the wicks to a quarter-inch length above the surface and use a heat gun or hairdryer to smooth the candle's surface if you spot any cracks or spots. All candles are subject to imperfect tops, so don't get disheartened if your first few batches are not smooth without any blemishes. Any slight cracks or holes will not affect how they burn and smell so you can miss this step if you like.

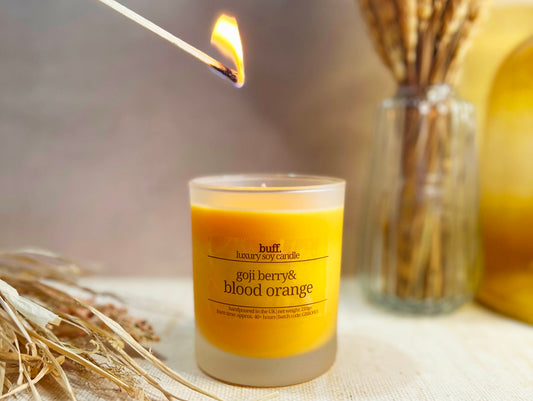
Feeling Zesty? Our lemongrass and Persian lime soy wax candle is a citrus-lovers' dream
What temperature do you heat soy wax to make candles?
Soy wax will start to melt quickly as it has a lower melting point. You need to check your wax guidance on the prime temperature to add fragrance (if using any) and pouring temperature. Typically, to add candle dyes heat your soy wax to around 85C, and allow it to cool slightly to add your fragrance oil. To pour your soy wax, it can be ready to be transferred to a container between 50C and 80C (120F to 175F). It will start to turn slightly cloudy before the mixture starts solidifying so ensure you pour before it becomes too cool.
How to make scented soy wax candles at home?
Follow the above steps first for scented soy wax candles. Once the wax is melted and you're waiting for it to cool, this is the time to add fragrance or candle dye by following the guidelines. Typically, candles tend to have 3-7% fragrance load, meaning the percentage is worked out against full candle weight in wax. They do not go beyond 10% fragrance load usually.
How to make soy wax candles smell stronger?
Adding a lot of fragrance won't make your candles smell bolder or for longer either, as each specific wax can only 'hold' a specific amount and anything more than this amount is not absorbed. Therefore, adding extra fragrance will create a safety risk, as it'll remain unblended in the wax and once the candle burns, the flammable liquid will pose as dangerous. Sticking within the fragrance load, mixing the fragrance just before you pour the candles (when the wax is at the possible coolest temperature) will help the candles smell better.
When you're ready to pour your candles, pour slowly and gently with a steady hand and flow. This will also help the candle surface remain smooth. Soy candles need a longer cure time than other waxes. Although they can burn after a couple of days when cool, the fragrance and wax are still bonding together for the next two weeks or so. So leave your containers to cure for at least two weeks before burning, which will help your soy candles to smell longer and better.
How to make pillar candles with soy wax?
The mixing, melting and pouring instructions stay the same. The difference here is that you need to use pillar soy wax specifically so that the wax stands on its own. Next, you need to purchase candle moulds to pour the mixture in - these typically are silicone moulds you can open after use. After pouring, allow the candle to cool for at least 24-48 hours before attempting to remove it from the mould as you want to make sure it's solid enough that it won't be damaged or bent out of shape.
Stay safe
There are a lot of potential dangers when it comes to learning how to make soy wax candles. First, if too much fragrance is added or not blended enough, the excess poses a risk of fire with the flame burning the leftover fragrance oil. Next, if the wick is too big for the size of the container, the flame will be high and large and could also be a fire hazard. Uneven wicks that are not centred or angled can cause one side of the glass to become extremely hot. You may need to make a few batches and have patience until you find a method and ingredients that you like most. Never give away candles you haven't tested for your own use.
When testing the candles, never leave them unattended and do not burn for more than four hours at a time. The key factors you should look out for are that the candle flame isn't too high or more than 2cm, the flame should not flicker continuously even when there is no draft, and the rim of the container should not have black soot around the rim after each use. Candles should also not be moved once they are lit and the glass cannot be too hot to touch. Other safety precautions include that the container is level and steady so it remains upright, and the melt pool (which is the liquid wax layer on the top surface) isn't too deep. If it is too deep this means the wick is too big and too much wax is being melted. Try to aim for 1/2 inch to an inch maximum as a melt pool indicator. Lastly, when extinguishing your candle, never blow it out because this can cause the wax to spurt or splutter everywhere and hot wax is very dangerous. Instead, invest in an inexpensive candle snuffer that goes over the top of the flame and snuffs it out safely and quickly.
You may find you have to test a few different wick sizes or candle containers to find the best ones that work for you and your soy wax candles. Candle making allows for creative experimentation with various additives, such as candle dye and fragrance oils. However, it's crucial to use approved candle dyes specifically designed for this purpose. Essential oils, although popular, should be avoided as they can be flammable and pose safety risks.
When using candles, remember to never leave them unattended and keep them away from flammable materials. Always place candles on heat-resistant surfaces and out of the reach of children and pets. It's essential to practice responsible candle usage to prevent accidents and ensure a safe environment.

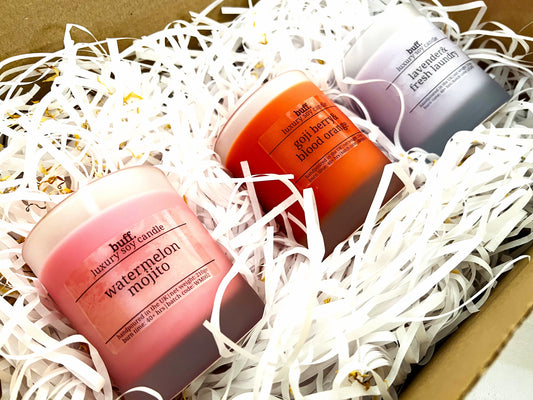
Shop our full range of vegan soy wax candle gift sets
Sit back and relax
Your homemade soy wax candles offer endless possibilities for yourself and thoughtful gifts. Use them to create a cosy ambience, relax during a bath, or enhance meditation and yoga practices. When giving candles as gifts, ensure you provide safety instructions to the receiver. If you've never made candles before, test them in a well-ventilated area ensuring the flame is steady and there are no other safety issues.
Making soy wax candles at home is a satisfying and environmentally friendly hobby. With its numerous benefits, including clean burning and renewable sourcing, soy wax has become a preferred choice for candle enthusiasts.
By following the step-by-step instructions and safety guidelines provided in this guide, you can embark on a creative journey and enjoy the warm glow and captivating scents after learning how to make soy wax candles at home.